Home renovation projects are a ton of fun, but do we really know how the process works without damaging our walls, floors, doors, and anything else that makes up the kitchen? It is challenging to figure out how to go about a project. Thankfully, after going through many processes like this one, we have developed our own list of tips for removing kitchen cabinets. Don’t be shy—come join us on this exciting new project excursion.
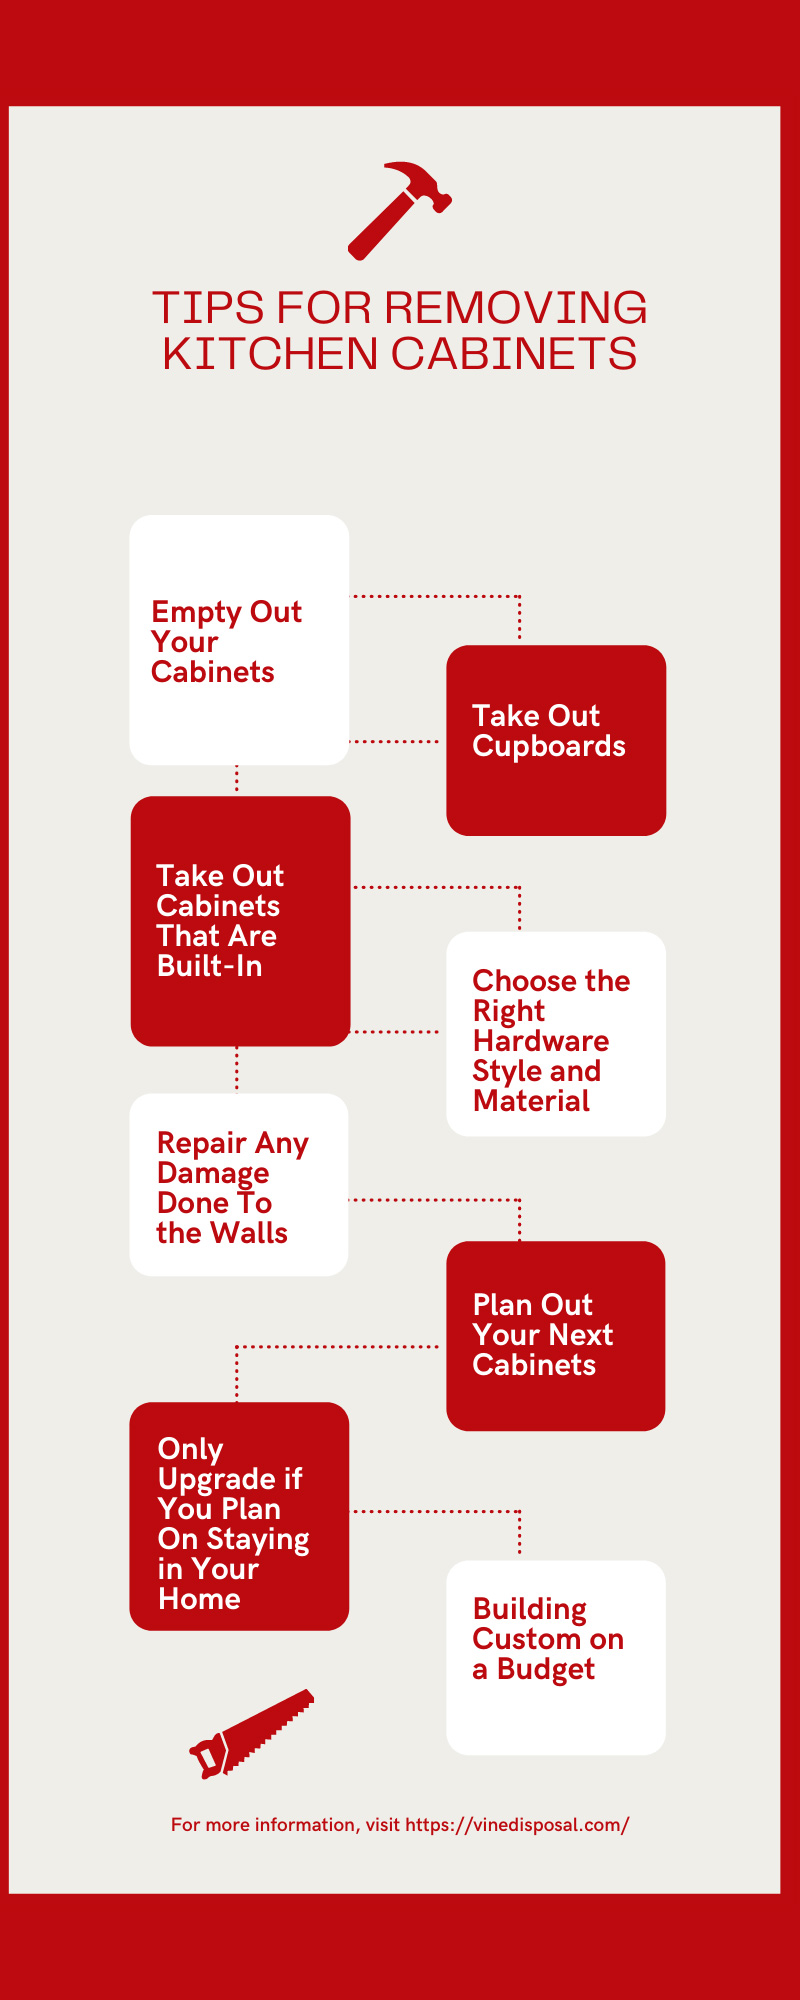
Empty Out Your Cabinets
Yes, when we say empty out the cabinets, we also mean the spices, snacks, and non-perishable foods. It’s tempting to only save your favorite snacks, but emptying out the entire cabinets will help us move along easier in the process.
Additional Steps To Follow
Before we can take out any part of the cabinets, focus on removing the countertops first. This part only takes a few minutes. First, you will want to shut off all valves connected to your sink, shut off the electricity, and then remove your countertop. Cover any countertops you do not plan on moving or replacing the cabinet to. Next, pull out the drawers, remove the doors, and safely remove the cabinets by going backward in the setup process. In other words, unscrew the bottom cabinets first before tackling the lower levels.
Don’t do this on your own. Instead, bring some friends and hire a team to help you dispose of your material as you construct new cabinets. Also, don’t forget a way to dispose of your kitchen cabinets, contact Vine Disposal for all sorts of dumpster rental services in Atlanta, GA. We help diminish the leftover scraps that you might not know where to dispose of them properly.
Take Out Cupboards
If there are cupboards that were premade, we recommend a piece of lumber scrap to help support the counter and its bottom to help with unscrewing the cupboards. Once the ones from the walls are removed, the cabinet will be loose enough to be extracted.
Take Out Cabinets That Are Built-In
For those cabinets that are built-in into walls, all you will need is a large hammer, a pry bar that has a flattened end, and a crowbar. Now, let’s not go crazy and go smashing every cabinet we see. This process takes time, and safety measures should always be practiced.
This is one of the best tips for removing kitchen cabinets. Also, make sure to wear goggles when taking out any wood. Use the hammer to take out the frame of the front part of the cabinet, and then do the sides, the top, the bottom, and finally the back. Be extra careful not to damage the walls in the process.
Choose the Right Hardware Style and Material
During this process, figure out what you didn’t like about your previous cabinets and avoid making that mistake again. If you are looking for storage space, opt for more ample cabinets that are deep so you can hold more dry goods in them. Today, there are many styles to pick from. When it comes to material, we recommend getting something that matches your kitchen theme. There are others like wood, marble, glass, and stainless steel.
The type of hardware will vary on the cabinet choices you make. Keep in mind that you may possibly need to buy specific drawer pulls or knobs to help fit the style of your drawers. Some popular types include vintage glass and bar pulls.
Repair Any Damage Done To the Walls
If there’s any damage caused to the walls, be sure to fix them before installing your cabinets. Not only will this prevent your wall from looking bad, but it will make your kitchen look more excellent. To select any holes, use a hammer to dent the gap in some. Using a putty knife apply spackle to the entire area until it’s completely covered. Finish this by sanding the patch with sandpaper that is medium-grit on a sanding block.
If there are bigger holes, use a piece of drywall to help cover them up. Press down on the patch and trace the outline of your patch. Next, use a saw to cut a hole in the wall. After you finish tracing, use a wallboard saw. Insert some pieces of one by four pieces of lumber into the wall opening and place them flat against the drywall using drywall screws.
Then, apply some joint compound to the patch, and press the pieces over the seams of the wet mixture using drywall tape. Next, use additional coats of the joint compound to the patch. Finally, sand it down until it’s smooth.
Plan Out Your Next Cabinets
Before you begin your demolition, plan a new layout for your future cabinets. Are they going to be open shelves, will there be pullouts, a lazy-Susan? Or, maybe you will have a glass cabinet setup that you want to place in for a more Victorian or farmhouse style kitchen. By planning out, you will know the exact measurements and dimensions and know if the cabinets will fit the essentials like the sink, stove, microwave, refrigerators, and others like it.
Only Upgrade if You Plan On Staying in Your Home
If you aren’t planning on staying in your home for long – even if you are renting – it’s probably best not to mess with the cabinets unless you want to add to your home’s current value. If you are leaving, stick to a budget that will help you envision a simple setup. If you are sticking it out and staying around, splurge as much as you’d like on any type of kitchen cabinets. Also, if you want the entire kitchen gutted, consider a custom job.
Building Custom on a Budget
Customs can be pricey, but if you describe your vision to a professional contractor, they’ll help with giving you a quote. They will base it all on material cost, the renovation window time, and your square footage. For example, suppose you are looking to expand the walls in your kitchen. In that case, you are looking at spending well over ten thousand for a renovation project. Instead, start out small by changing a paint color or even your sink style. That way, it can help you dream bigger and plan for a project in the future.
Your dream kitchen cabinets are only a renovation away. So, if you happen to get inspired to redo the rest of your kitchen, we highly suggest going for it. While looking over these tips, remember that not only will your kitchen fit style, but it’ll feel roomier with all of the new cabinets you installed in your kitchen.