Getting new floors in a home is always a good feeling. A new floor has the power to make an entire home look sleeker, more modern, and more sophisticated. In other words, it can affect the entire foundational mood of your interior spaces. Once the floors are in, all the other décor will fall into place. From the floors, you’ll have a vision and know how to execute it. So if you want to get rid of that old linoleum flooring, here’s how to properly remove and dispose of it.
Know the Difference
Not a lot of people know the difference between linoleum and vinyl flooring. Too many think they’re the same thing, and they’re not. Even flooring experts make the mistake of using the two interchangeably. However, the linoleum and vinyl floors don’t behave the same way.
Before you get a box cutter and start tearing away at your floors, you need to know if it’s linoleum. There’s a different process for removing vinyl flooring. Because linoleum contains natural materials and could come from as early as the 80s, there will be some challenges for you to face.
Manufacturers make vinyl with synthetic materials. If you’re unsure what’s synthetic and what’s natural, ask a flooring expert to break down the feel and look for you. Or you could have them come by for a consultation and tell you the difference in your flooring.
Test the Floors
There’s a good chance that asbestos is underneath the floor because it has natural materials. Asbestos is something you need to know about before you even attempt to lift the flooring. If you expose yourself to the carcinogenic substance without the proper precautions in place, you could damage your health.
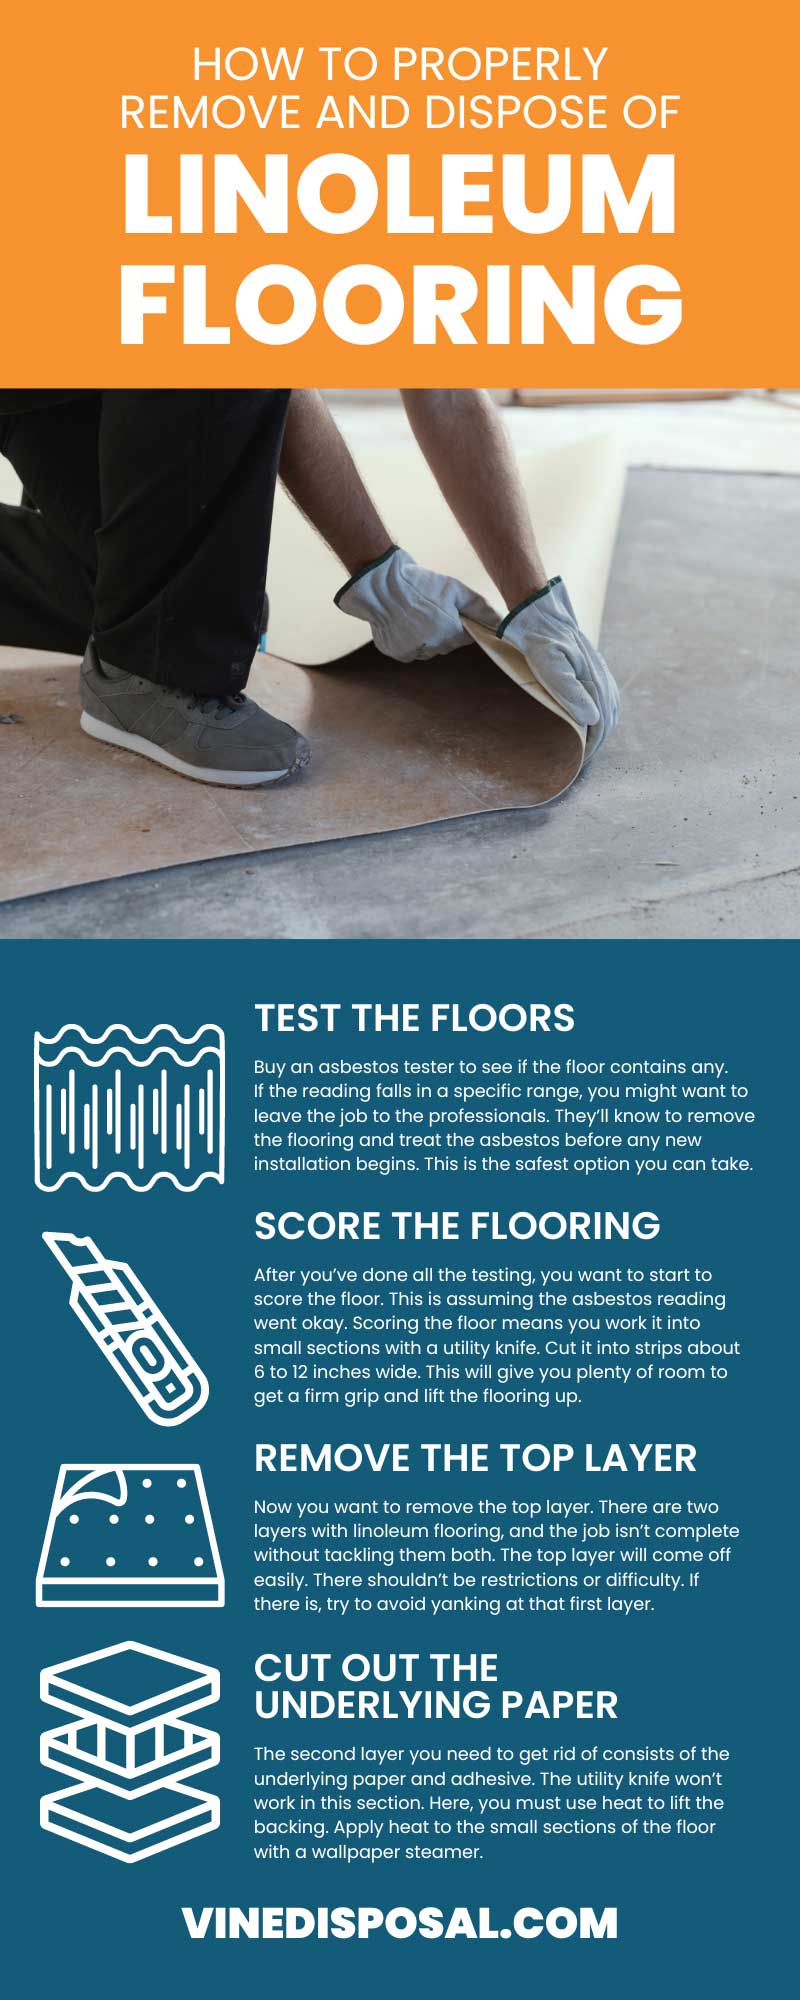
Buy an asbestos tester to see if the floor contains any. If the reading falls in a specific range, you might want to leave the job to the professionals. They’ll know to remove the flooring and treat the asbestos before any new installation begins. This is the safest option you can take.
Score the Flooring
After you’ve done all the testing, you want to start to score the floor. This is assuming the asbestos reading went okay. Scoring the floor means you work it into small sections with a utility knife. Cut it into strips about 6 to 12 inches wide. This will give you plenty of room to get a firm grip and lift the flooring up.
Some linoleum floors come with a tile pattern that might make things easier. You can cut based on the design of the tile. Use them as an outline, but don’t get carried away with the knife.
It’s easy to press deep and cut farther than necessary, but you don’t want to do that. Don’t go past that first layer. You won’t need to press too hard, especially if the knife is new. That means it’s extra sharp. The goal is to avoid damaging the floor underneath, especially if it’s hardwood.
Remove the Top Layer
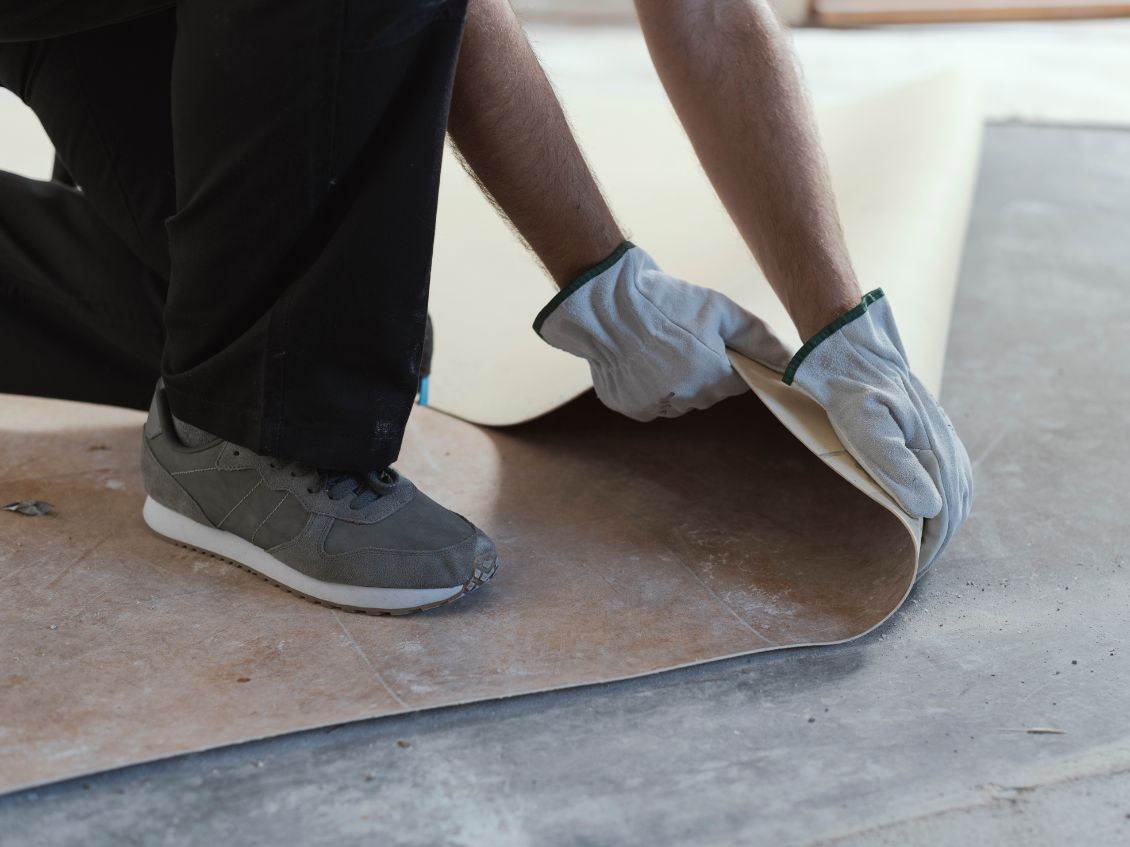
Now you want to remove the top layer. There are two layers with linoleum flooring, and the job isn’t complete without tackling them both. The top layer will come off easily. There shouldn’t be restrictions or difficulty. If there is, try to avoid yanking at that first layer.
You don’t want to jerk it too hard and cause damage. Go to the section where you’re having difficulty to see what the issue is. You may need to use your utility knife to get it loose. Remove the flooring from the sections you cut out.
As you tear them away, start placing them inside disposable bags. You can put the flooring inside the container as is. But sometimes, disposal bags make the job cleaner and a little less messy. It’s always more manageable to maneuver.
Cut Out the Underlying Paper
The second layer you need to get rid of consists of the underlying paper and adhesive. The utility knife won’t work in this section. Here, you must use heat to lift the backing. Apply heat to the small sections of the floor with a wallpaper steamer.
Other alternatives can be a heat-up gun or even a hair dryer. Have the setting on high so that the adhesive really starts to loosen up. Going in small sections might get frustrating, but it’s important to do it this way. Trying to rush the process could damage the flooring underneath.
Once you start to see the heat loosen up the backing, start to scrape at the adhesive. Work at a 45-degree angle, and don’t gouge the subfloor. You just need to lightly scrape to get the job done. Move from section to section. You can choose to work with the utility knife or another tool. Some spots might be more stubborn than others. All you need is a little alcohol or paint thinner as a solvent.
Dump It All
Now, this is the fun part. You don’t want this old flooring or the debris to linger in your house. So here’s your chance to dump it all, and we mean dump it. Get one of our containers because it’s the most logical thing to do. Using a home trash container can just make an unnecessary mess.
And home improvement projects of this size always need a sizable container to hold the trash. Here at Vine Disposal, we’ve got containers in various sizes. They’re 10, 20, 30, and 40 yards. If all you’re doing is working on the flooring of one room, a 10-yard dumpster should be able to cover you.
And even better, we have multiple locations and are ready to service you. If you want a Snellville dumpster rental, contact us. We’ve got it! Remember that you’ll need to speak with your provider about the proper way to dispose of asbestos because dumpster rental companies will not accept it.
We know how to properly remove and dispose of plenty of items, including linoleum flooring. So if you want to find out more information about our services, visit our website.