As a DIY lover, you’re probably looking for your next project. You’ve managed to work through various tasks in your house, and the next big task lies directly above you. Taking on the attic is not for the faint of heart. Before converting it into a bedroom or a craft space, check out everything you need to know about removing insulation.
Know the Basics
Never start an insulation removal project without knowing the basics. Because most homeowners don’t spend a lot of time in their attics, it’s safe to say this area is relatively void of life. The space doesn’t get a lot of activity—at least not from humans.
You need to know what you’re walking into. First, always walk along the floor joists. If you press your foot through the drywall, there’s a good chance you’ll fall right through. Second, know that attics are small spaces. Mind your head and look for any nails that might protrude through the roof.
Third, attics are dark, so you need to bring your own light. You might end up seeing some things that go bump in the night. Be prepared to make a phone call if you do. Lastly, expect the area to be dirty and dusty.
Gather Your Tools
Once you have a general idea of what to expect, you need to gather all the equipment for this project. Removing insulation is a nitty gritty job, and you don’t want to rely on a hammer or scissors to clear everything out. For a job this size, you’ll need the following supplies:
- 23-Horse Power Commercial-Grade Insulation Removal Vacuum
- 150 feet 4–10-in vacuum hose
- Metal hose connectors
- 6-ft x 4-ft vacuum bags
- 50-gallon waste bags
- 6–10-ft ladder
- Floor and wall coverings
- Dumpster
These items won’t make the job completely mess-free, but they do help the process. They manage the mess and make the job slightly less physically demanding. You’ll still get a workout.
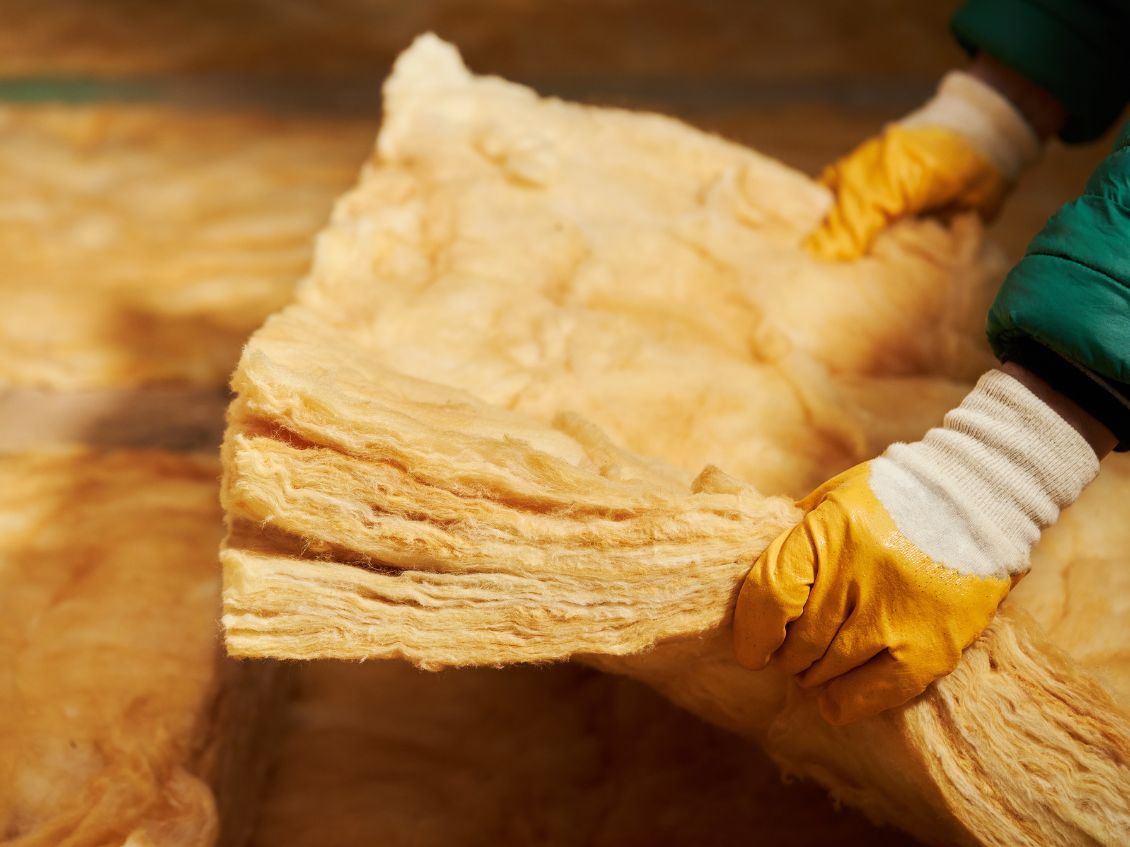
Inspect the Insulation
The next step is inspecting the insulation. There are several different types of insulation, so knowing the kind you have will make the removal process easier. Blown insulation is common and made up of small particles of foam or fiber.
After determining the type of insulation in your attic, watch out for any signs of infestation, mold, or water damage. Blown insulation is very cozy for pests like mice and squirrels. Look for any nests, urine, or droppings. These are clear indications that animals reside in your attic.
Mold or water damage will show in blow insulation as black streaks or spots. You can always smell water damage inside an attic because it rarely gets aired out. Test for asbestos in older insulations.
Assess the Space
After taking stock of the insulation, you need to assess the entire space. You’ll be working here for the next few days, so get familiar with the space to avoid injuring yourself. Working in uncharted territory can be dangerous.
Know where all the low areas are, and decide which section you want to start with. If the space was infested with pests, look for their area of access. They are less likely to return while you’re working, but it’s always better to check.
Seal that space so you don’t have any uninvited guests. Set up a timeline for the project. Depending on the size and state of the attic, you likely won’t finish in a day or two. Give yourself enough time to work.
Create a Work Area
Now, you need to create a work space. Divide the area into multiple sections. First, establish a location to hold your tools. This will more than likely be in the garage or on the lawn because there’s not enough room in the attic for everything.
Second, create a designated work path between your tools and the attic. Don’t place anything in the way with the potential of causing an injury. If you access your attic with a ladder, don’t leave any tools on it. After you’ve finished with one tool, set it off to the side in a safe location.
Third, work in one spot at a time. Try not to jump around too much. Finish the removal of one area before moving on to the next. The space is already cramped enough, and too much activity could make it difficult to move around.
Wear the Gear
Make sure you’re wearing protective gear. Do not even attempt to step foot in that attic without a face mask, goggles, work gloves, and full-coverage clothing. If fiberglass touches the skin, it could cause a sharp stinging sensation. You may also need earplugs and a hard hat to protect yourself from the low ceilings.
You don’t want to risk anything getting in your eyes, ears, or lungs. Many attics are unsafe, and fully arming yourself is the only way to guarantee protection. If fiberglass somehow touches your skin, don’t rub it—that only makes it worse. Rinse your skin with water thoroughly.
Vacuum the Insulation
Set up the industrial vacuum and work your way backward. Start at the far end and travel toward the entrance. Even with a heavy-duty industrial commercial vacuum, you need to keep a close eye on it. They can fill quickly, especially during insulation removal.
Regularly empty and dump the insulation into the 50-gallon waste bags. Trying to maneuver the machine and dump the contents in a small space could be dangerous, so empty the vacuum outside of the attic in a location with sturdy flooring.
Clean and Dispose
Finally, you need to clean up and dispose of the mess. You have already stored most of the removed insulation in the trash bags. You also need to collect those remainders lying around and sweep excess dust, dirt, and debris.
Collect everything in the garbage bags and discard them in your dumpster rental. You don’t want to place any of this waste in your home trash or even your garage trash. The mess is too big, and it requires proper disposal. A dumpster rental company like Vine Disposal knows how to do that.
Find out everything you need to know about other removals outside of insulation with Vine Disposal. For more information, visit our website.
.jpg)